Beads, Bangles, and Bohemian

Just another WordPress site

Easter Wreath

March6

20160306_131412_edited-1

It’s been a lot of years since I have made an Easter wreath for my door. Let’s face it, they are so cheap to buy at Walmart and Hobby Lobby, that I tend to go there and find something I like and hang it up. But this year I found these cute felt cutouts of bunnies that only cost $1.00 for 6 of them. I took an old wreath h I was tired of, striped it down and then hot glued the bunnies on ( I bought 2 packages to cover the wreath). I also had leftover ribbon from Dr. Seuss day bows and an old artificial plant I was getting rid. After breaking out the glue gun, I came up with this. Hope your March is going great and that you have weather worth enjoying wherever you may be.

20160306_131441_edited-1

Valentine Scrubbies

February11

20160207_180231_edited-1

A couple of weeks ago, my daughter and I were walking through Hobby Lobby looking for cotton yarn for a project for my niece’s new baby when I came across Red Heart Yarn’s Scrubby! Although many of you may already know about and/or be using this yarn, it was news to me that it even existed. I was so excited to bring it home and try it out that I made Valentine Scrubbies for my mom and aunt as a quick Valentine’s Day surprise.

20160130_145521_edited-1

The pattern is so easy to follow and I had a lot of fun finding a cute way to package up my scrubbies before I sent them on their way to those two very important women in my life. Hope you enjoy them as well! And seriously, go check out this yarn! It makes for a really great scrub pad.

20160207_174820_edited-1


Scrubby Pattern

Materials:

1 3.5 oz. skein of Red Heart Scrubby yarn

H/8 crochet hook

Row 1: chain 27

Row 2: DC in third ch from hook. Dc in next 24 chains, ch 2 , turn

Rows 3 -14: Dc in second dc from hook, dc in every dc across, chain 2 and turn. Repeat until you have 14 rows. Cut and tie off yarn.

I made three scrubbies in Valentine’s colors.

20160207_174852_edited-1

Rolled each scrubbie into a cylinder.

20160207_174932_edited-1

Placed the three scrubbies together and then tied them off with a piece of string. I made the little tags on my computer as an added decoration.

20160207_175822_edited-1

posted under Crochet | No Comments »

Journals

January24

I love finding great values in my local craft stores. Often I will find something and buy it, get it home and think, what am I going to do with this!!!! So was the case last summer. My friend Becky and I went to the Craft Warehouse and they had these really great journals for only a dollar a piece. So I of course bought 5. Brought them home and put them aside.

20151122_122522

As Christmas approached I found them in my closet gathering dust and decided they would make great presents for my daughter and daughters-in-law. I went back to the craft store and bought a few sheets of paper and some already made roses from the scrapbooking section. Which was a lot of fun for me, since I am not a scrap booker and hardly ever go to that section of the store, I was amazed at all the great things to use in crafting they had. When I got home I just did a little cutting and gluing.  The journals also originally came with really cheap paper covered pencils. Truth be told I didn’t feel let hassling with the pens to try to cover them with paper, so I threw them away and bought nicer pens to put into their place. Here is a picture of a couple of my creations.

20151124_202739

Organizing Christmas Lights

January17

Every year I battle untangling my Christmas lights and getting them up on to the tree. Several times over the years I have tried different ways to get my lights to stay untangled. I’ve used bread ties, plastic ties, card board pieces to string them around, etc… But none of these ideas worked for me. This year I laughingly put a picture of my tangled lights on to Facebook as a joke. My cousin replied with an idea he had seen on the internet. Putting each set of lights into a separate gallon bag. After thinking to myself, “Someone is an absolute genius, and why didn’t I think of this!” I decided to try it  out. I’ll let you know if it worked next year at Christmas  time. Stay tuned! Happy Sunday!!!

20160117_100405_edited-120160117_100250_edited-1

Seahawk Potholders

December30

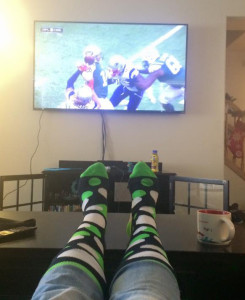
Just mention the name Seahawk and anyone can probably guess I am from Washington. Not that I am a sports follower of any kind but if you live in Washington chances are you or someone close to you is a die heart Seahawk fan. And that leads me to my daughter and son-in-law. They are without a doubt die heart fans of the Seattle Seahawks. They watch the games faithfully every week, while they and their friends share some of the many food items they have died blue and green for good luck. They wear Seahawk jerseys, socks, jewelry and anything they can find as loyal Seahawk fans do. They are true 12’s in our state of Seahawk fans.

seahawks 3

Their sports obsession has, however, made shopping for Christmas and birthday presents very easy for me. I have purchased and made tons of Seahawk colored items over the last few years. And I have had a great time doing it. There is just so much out there for me to choose from.

seahawks 1_edited-1

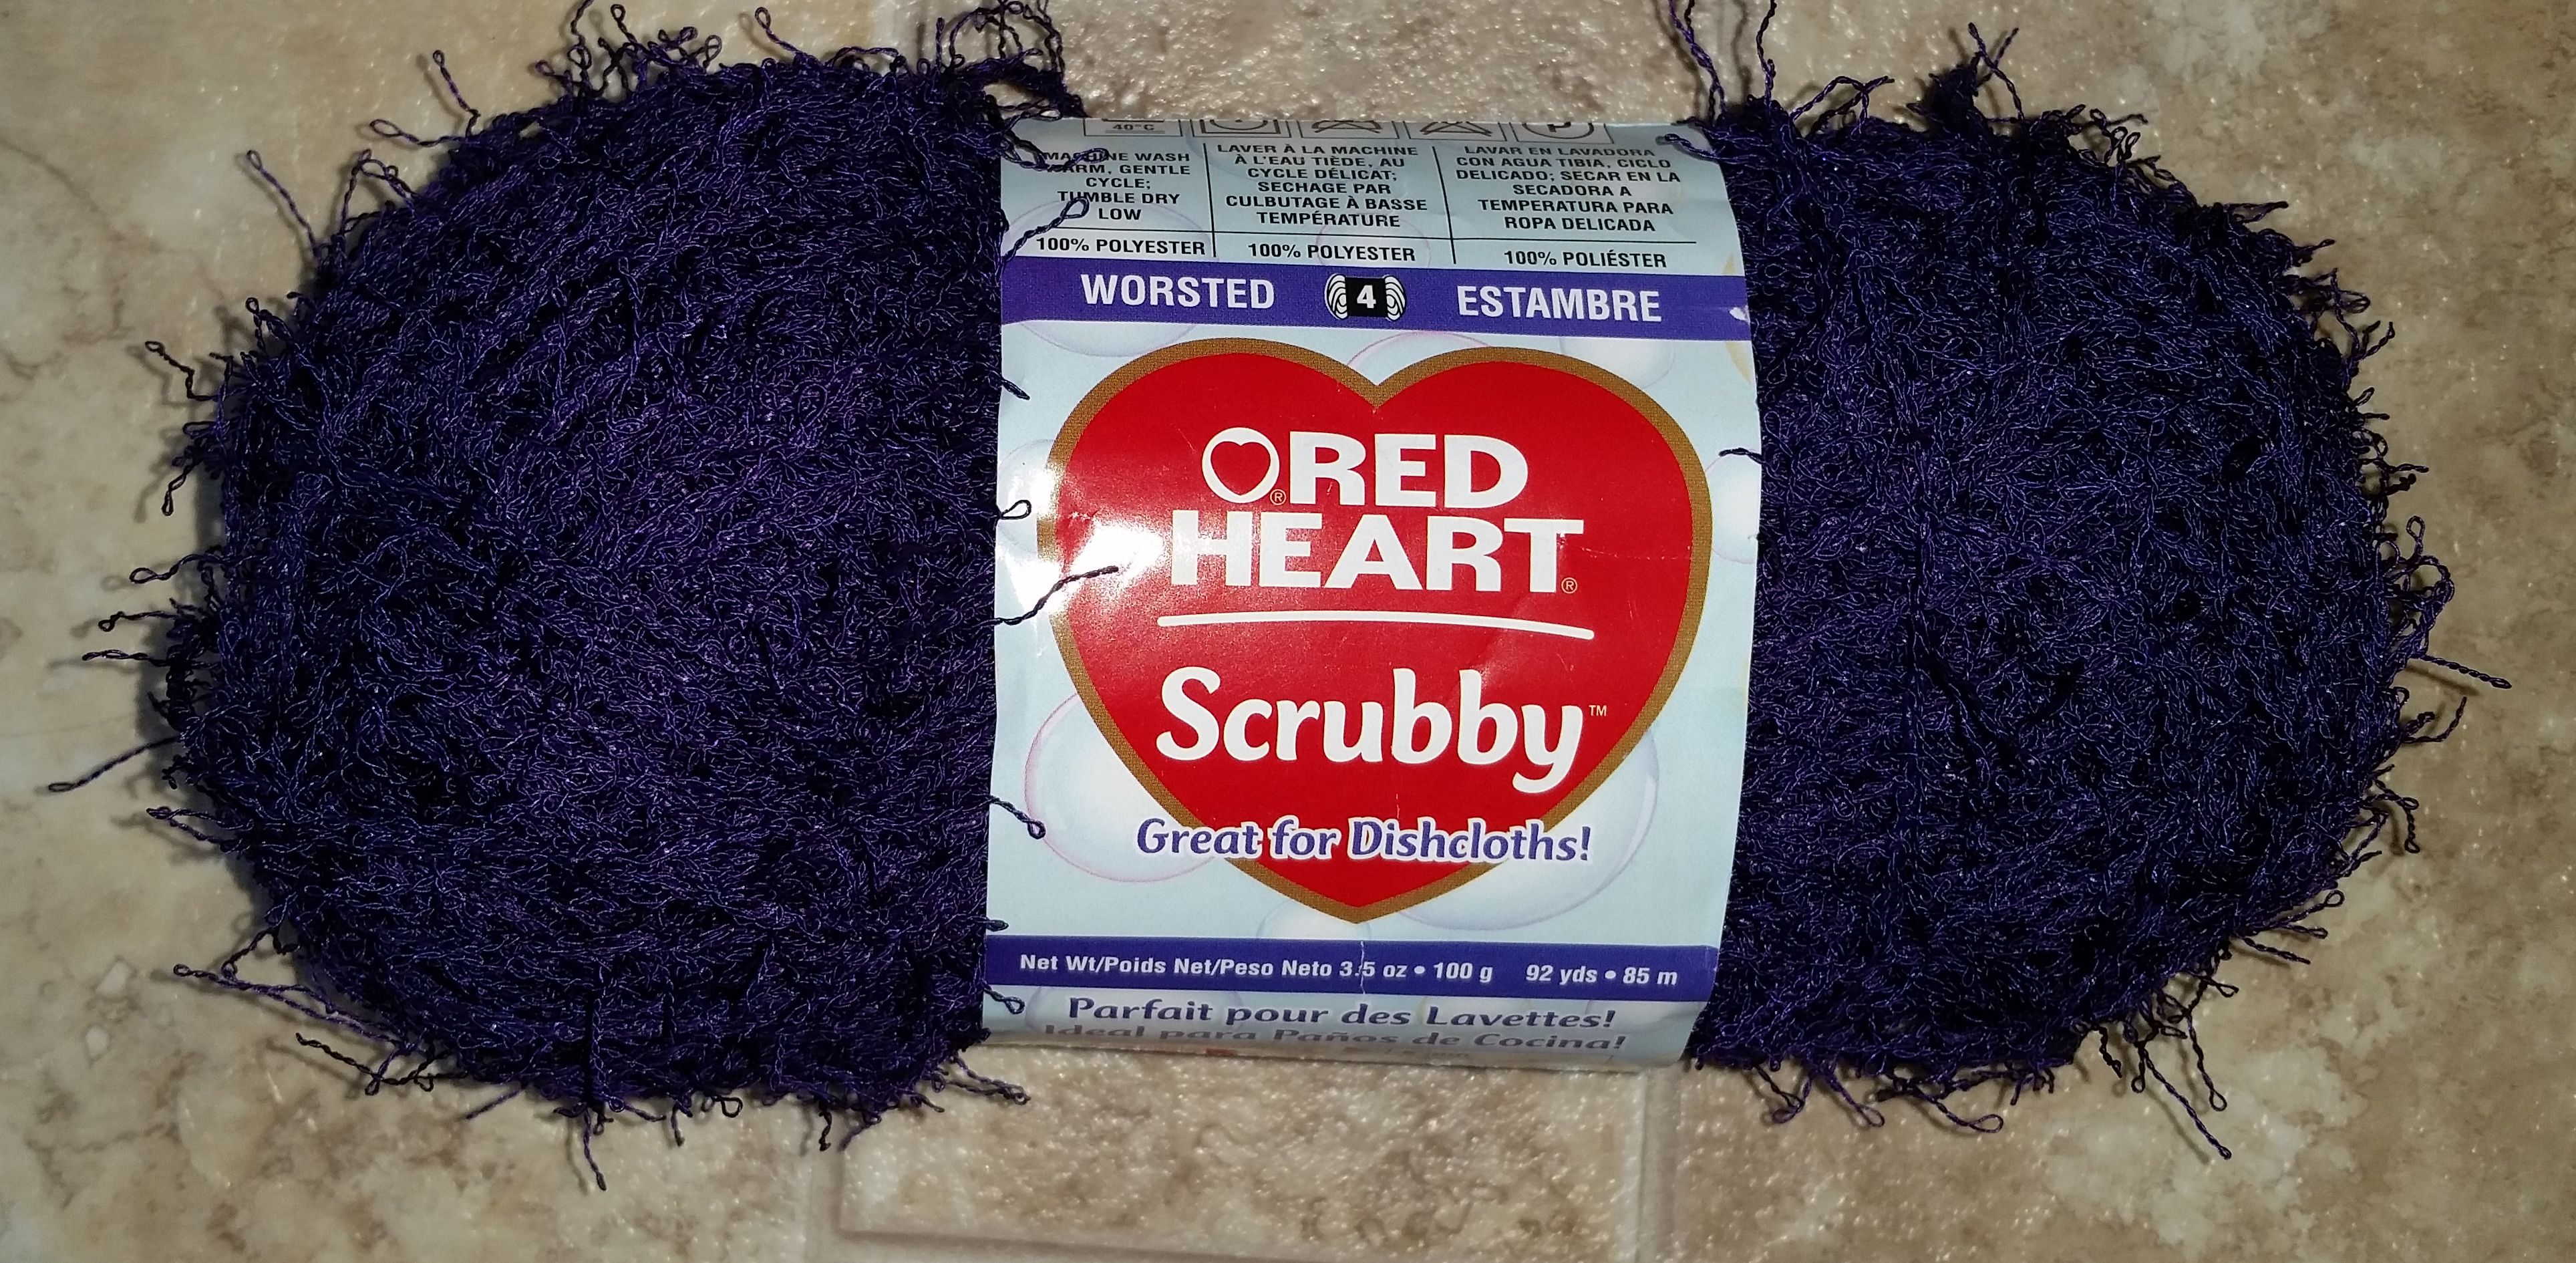
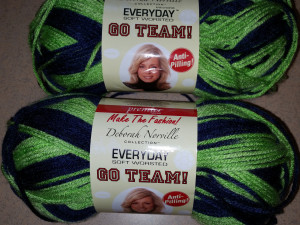
So, last November when I walked into a local craft store and found Deborah Norville’s Sports Fan Yarn in the Seattle Seahawk colors, I couldn’t resist.

20151222_171621_edited-1

I bought 6 skeins and started to crochet. Both my son-in-law and grandson ended up with Seahawk scarfs for the cold winter weather and I ended up with 2 skeins of leftover yarn. I decided to make potholders for my daughter’s BBQ out of the leftover yarn. These potholders are extremely easy and quick to make.

20151224_123929_edited-1

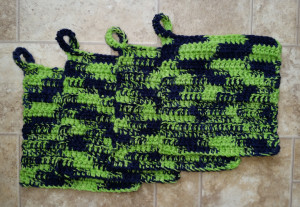
I had all 4 finished in just two evenings of crocheting. Here’s the pattern I came up with. Happy crocheting!!!

20151224_123743_edited-1

Supplies:

2 Skeins Deborah Norville Sports Yarn

H- hook

Pattern:

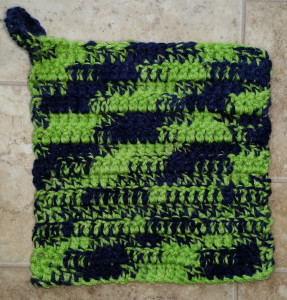
Row 1: Crochet with both skeins of yarn at the same time. This will make your potholder thicker and stiffer. Chain 27

Row 2: 1 DC in 4th chain from hook. DC in next 23 chains turn-

Row 3-15: Chain 2 (counts as first stitch).- DC in stitches 2 through 24, turn. At the end of row 15 do not cut yarn.

Row 16: this will become the hook used to hang up the potholder. After last DC on row 15, chain 12, turn and SC in 2nd stitch from hook. SC in each of next 10 stitches. Next, slip stitch in top of last DC of row 15.

Slip stitch through end of loop that is hanging off the potholder to make a circle. Make sure you pull the loop down to be tight on the top of the potholder with the slipstitch. Lastly, slip stitch through 2nd DC on row 15, tie off and tuck in the end of the yarn so it does not show.

posted under Crochet | No Comments »

Saying To Live By 2016

December29
I wish I knew who wrote this! I would thank them for the inspiration! But I have no clue. I found this on the internet ( of course) and love it! I have been working towards a life similar to this for a few years now, and I absolutely love it. My Daddy has been right for a long time now when he would say to us, “It’s not worth your time!” But getting older seems to make that statement truer and truer. Age means les stress and letting things bother you a whole lot less than they use to. Anyway, I love this quote! And I hope to make this a major part of my 2016 thinking! Have a wonderful last few days of 2015! See you in the next year!
 There comes a time in your life, when you walk away from all the drama and people who create it. You surround yourself with people who make you laugh. Forget the bad, and focus on the good. Love the people who treat you right, pray for the ones who don’t. Life is too short to be anything but happy. Making mistakes is part of life, Learning from them is what is important. Anonymous

No Roll Pie

August4

This is a recipe my sister-in-law Keni gave to me almost 30 years ago. I still love to make it because of its ease and lack of things to clean up afterwards! I hope your family will enjoy this pie as much as mine has all these years.

6

Ingredients

½ cup butter or margarine

½ cup sugar plus another tablespoon of sugar for the bottom crust.

1 and ¼ cups flour

1 egg

1 cup milk

2 cups fresh fruit

1-15oz. can of pie filling, any flavor

Directions

  • Melt ½ cup ( 1 stick) of butter with 1 tablespoon of sugar in a bowl.
  • Add 1 cup of flour to melted butter and stir until dough forms. You can mix until it becomes a ball, but I usually just mix until it becomes flaky.

OLYMPUS DIGITAL CAMERA

  • Press dough into the bottom and sides of a pie pan. I usually use a glass pie pan but tin will work also.

OLYMPUS DIGITAL CAMERA

OLYMPUS DIGITAL CAMERA

  • Mix 2 cups of fresh fruit with the can of pie filling. Evenly place the filling into the pie pan nto of the pressed out dough. I add fresh fruit because the pie filling is a lot more filling than fruit and I like to have a lot of fruit in my pie. If you do not want to add fresh fruit use 2-15 oz cans of pie filling instead on 1.

OLYMPUS DIGITAL CAMERA

OLYMPUS DIGITAL CAMERA

OLYMPUS DIGITAL CAMERA

  • In another bowl mix together 1 egg, ¼ cup milk, ¼ cup flour and ½ cup sugar. Mix well and pour over the top of the filling evenly.

OLYMPUS DIGITAL CAMERA

OLYMPUS DIGITAL CAMERA

  • Bake at 350 degrees for 50 minutes.

OLYMPUS DIGITAL CAMERA

Enjoy your pie with a little vanilla ice cream!

pie1

Marie’s Cobbler

July22

This is a great and easy recipe. The truth is I don’t know where it started from to give someone credit for it. My Aunt Marie, Who we call Mickey, gave it to me over 30 years ago and I have been making it as a quick desert ever since. It’s easy to make, and great with ice cream. I hope you will enjoy it as uch as my family does.

Marie’s Cobbler

purple5

Ingredients

1 stick (½ cup) butter or margarine

2 cups sugar

1 cup flour

1 teaspoon baking powder

2/3 cup milk

1-15oz. can of peaches or other canned fruit

4 cups fresh fruit such as blueberries, plums or cherries

Steps

  • Wash and prep your 4 cups of fresh fruit. I like to cut it into medium size chunks or slice it. I used plums from my daughter Alana’s plum tree for this one.

OLYMPUS DIGITAL CAMERA

  • Preheat oven at 350 degrees
  • In a small bowl, melt the butter or margarine.
  • Pour melted butter into a 5 quart (11 x 15) glass baking dish.
  • In another bowl mix together 1 cup of sugar, 1 cup of flour, 1 tsp. baking powder and 2/3 cup of milk. Mix until everything is well blended.
  • Pour batter over the melted butter in the baking dish. I try to make sure I cover most of the bottom of the glass baking dish with batter.

OLYMPUS DIGITAL CAMERA

  • Pour one 15 oz. can of canned fruit with the juice over the batter. Using the juice from the fruit is very important to this cobbler. Without it, your batter will burn to the bottom of the dish.
  • Spread 4 cups of fresh fruit over the top of the canned fruit.

OLYMPUS DIGITAL CAMERA

  • Sprinkle 1 cup of sugar over the top of the fruit.

OLYMPUS DIGITAL CAMERA

  • Place in 350 degree oven for 1 hour.

If you don’t have any fresh fruit available, you can use three 15 oz. cans of fruit instead. Make sure to drain two of the cans of fruit and only use the juice from one can in the cobbler.

OLYMPUS DIGITAL CAMERA

You can serve this cobbler hot out of the oven or closer to room temperature if you prefer. Enjoy and don’t forget to refrigerate your leftovers so you can enjoy it again tomorrow.

purple4

Brain Cancer Sucks

July16

Four years ago this month my beautiful daughter Alana was told she had a brain tumor. Thousands of thoughts run through my mind:

What? My daughter!! This can’t be!”

“We’ve been through so much already!”

“Please Lord; I’m not as strong as you seem to think I am!”

“She’s only 26! She has a one year old baby to raise!”

“YOU HAVE TO BE THINKING OF ANOTHER PATIENT, NOT MY DAUGHTER!!!!”

But it was my daughter! She went to bed one night with a normal life, had a Grand Mal seizure in her sleep, and her life has never been the same since.

Now, four years later, I am humbled by her strength, optimism, and determination to have a normal life for her family. My daughter is very fortunate to have had a tumor that was slow growing and the least aggressive kind. She has a wonderful prognosis of a long future ahead of her, which I have since found out so many brain tumor patients are not fortune to have.

I will be blogging about brain cancer, fundraising for a cure and my beautiful daughter more in the future. I wanted to start with this wonderful picture of my daughter Alana (in pink), and her Joggin for the Noggin Team.  We (I am the one behind my adorable grandson) participated in the Head for the Cure 5K in Seattle last Sunday, to raise money to find a cure for brain cancer.

.safe_image

Things People Say! Or Least Wish They Had Said!

July13

I haven’t been on here, writing and sharing, so far! And it’s driving me crazy! So, I finally decided rather than thinking so much about how I could change all of my thoughts and fit them into a convenient, one size fits all box, I should just put whatever I feel lead to write about on here and really go for it! So here is something fun that I love! Quotes! Good quotes, bad quotes and especially quotes that make me laugh or make me think about how I should change my life! So, I am going to start a tag of quotes I love!

You can never cross the ocean unless you have the courage to lose sight of the shore!

« Older Entries